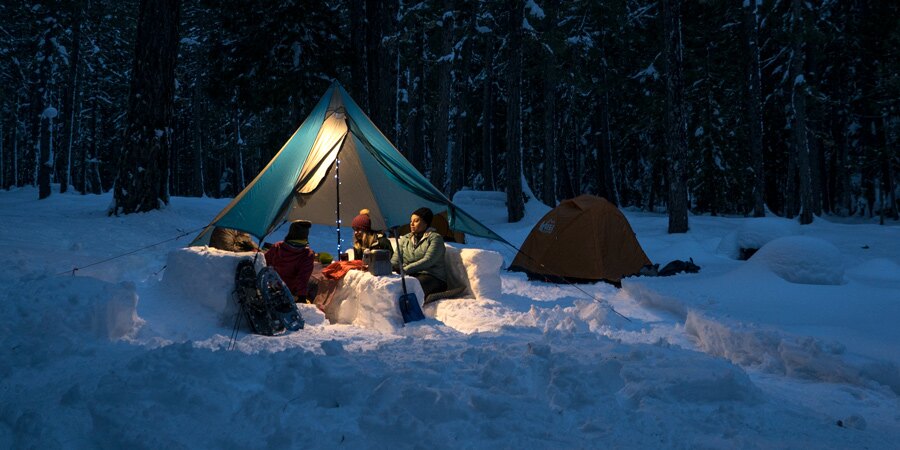
Winter camping is rewarding and lets you access the backcountry in a whole new way. If you don’t plan ahead and prepare accordingly, you may have a cold and miserable experience. Use these tips to help you plan accordingly and make your first winter camping trip a good one!
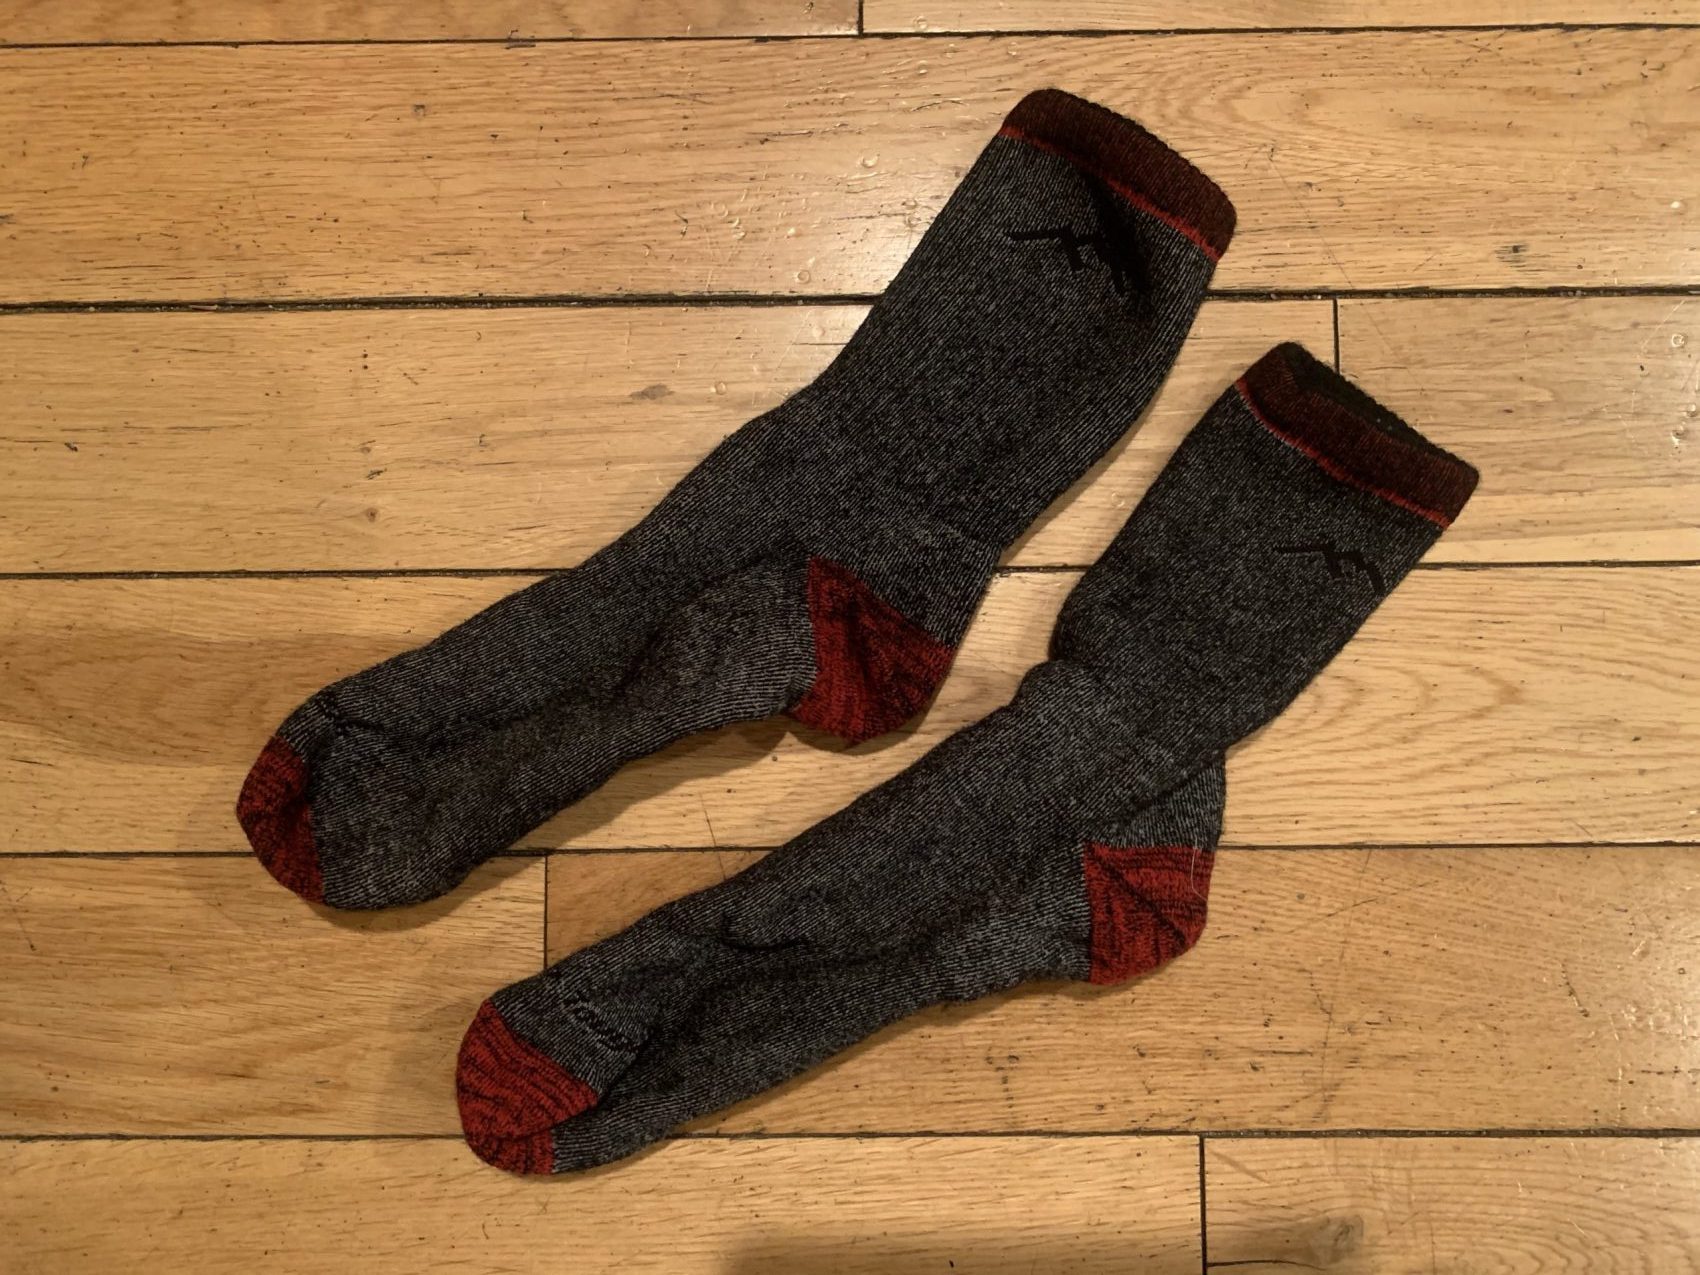
9. Change your socks (a lot).
The socks you wear for the day will have some sort of moisture on them. Either water or sweat will be in your socks, so change them when you arrive at camp and get into your camp shoes. Moisture causes evaporation and evaporation is a cooling process. Don’t let evaporation give you cold feet!
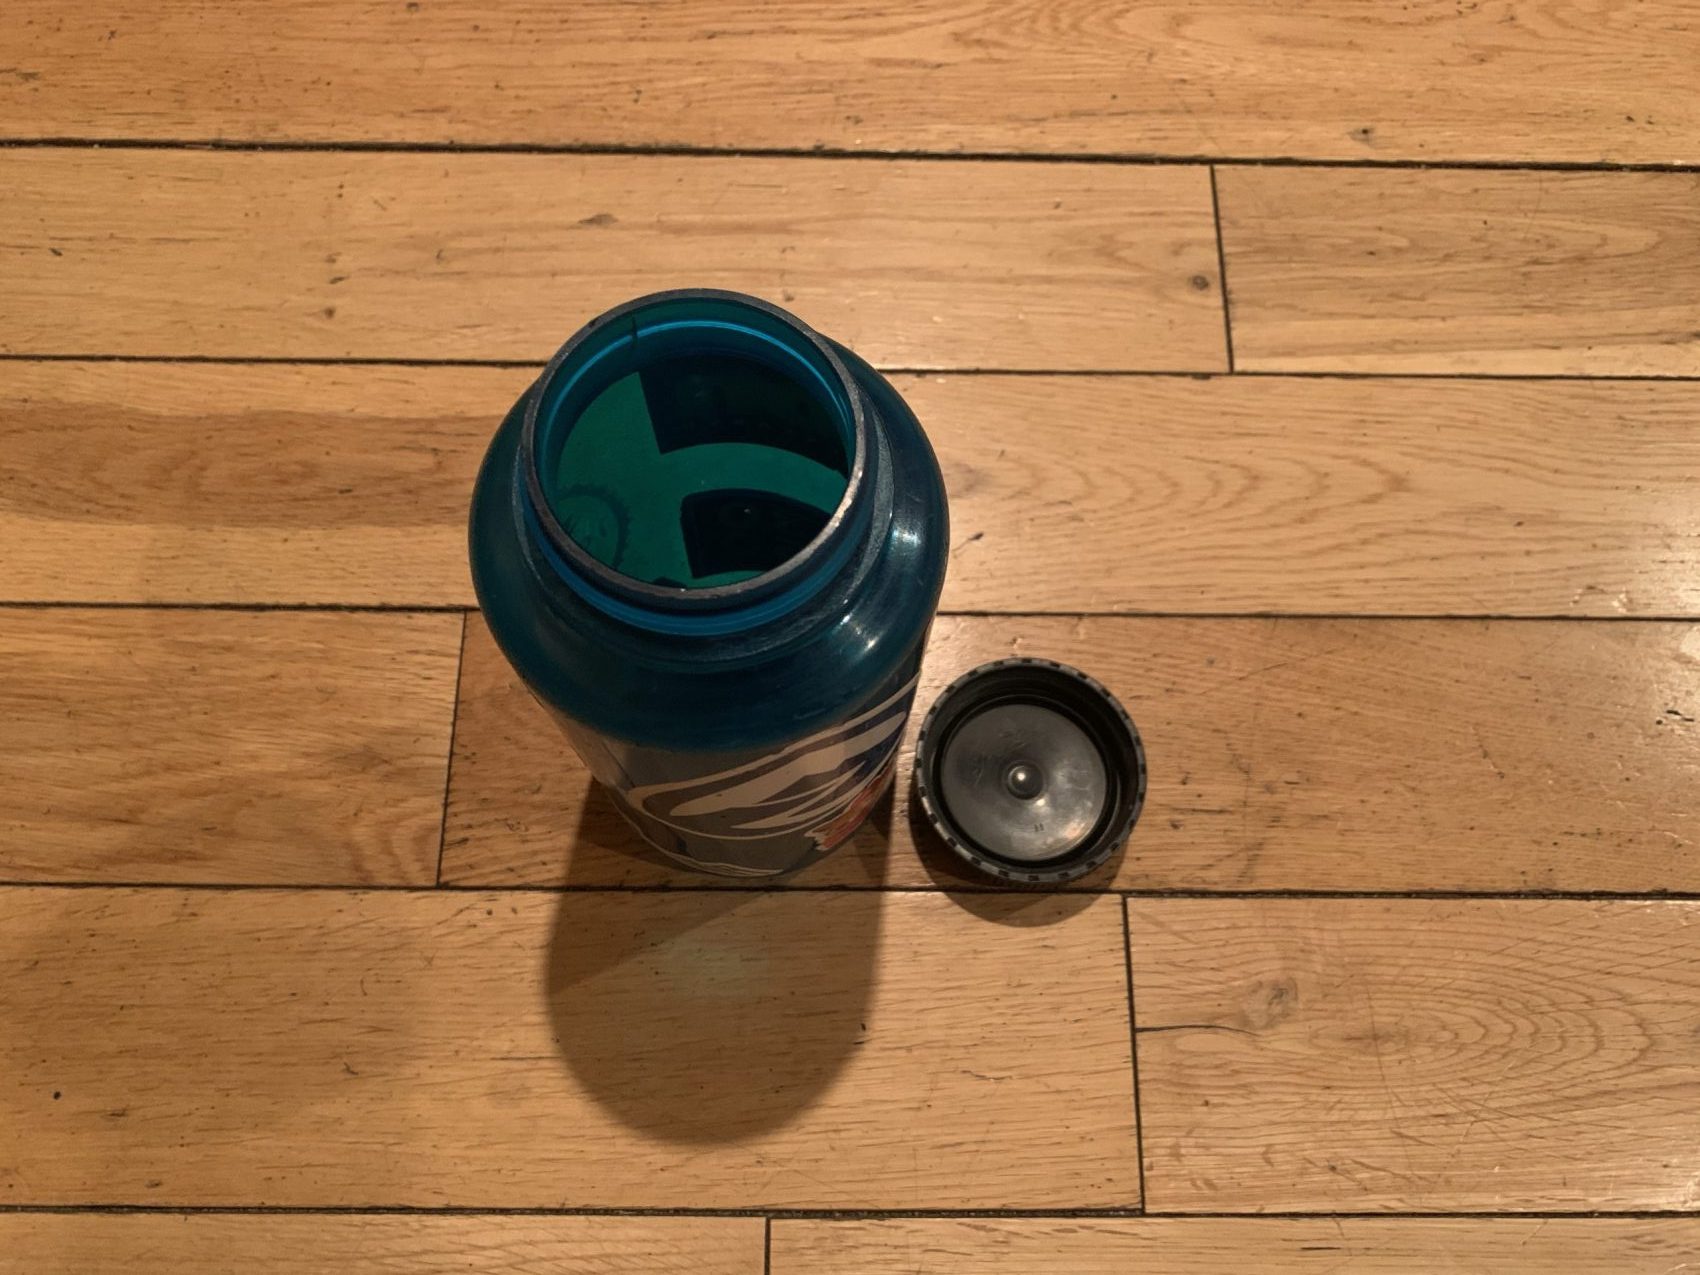
8. Keep a Pee Bottle and Pee Before you Go to Bed
If you have been winter camping, you likely have woken up in the middle of the night having to pee. Often, you decide it is not worth getting out of your tent, it’s too cold, or make other excuses to yourself. It is important to relieve yourself as holding it will use and burn unnecessary calories. If getting out of your sleeping bag and tent at -20 sounds terrible, then keep a pee bottle in your tent. Keep a Nalgene or other wide-mouth bottle designated for this purpose.
7. Keep a chocolate bar (or similar) close to you at night
In some cases, no matter what you try, you are going to wake up cold. If you wake up cold at 3 am, a chocolate bar will help boost your metabolism and get you warmer and back to sleep faster.
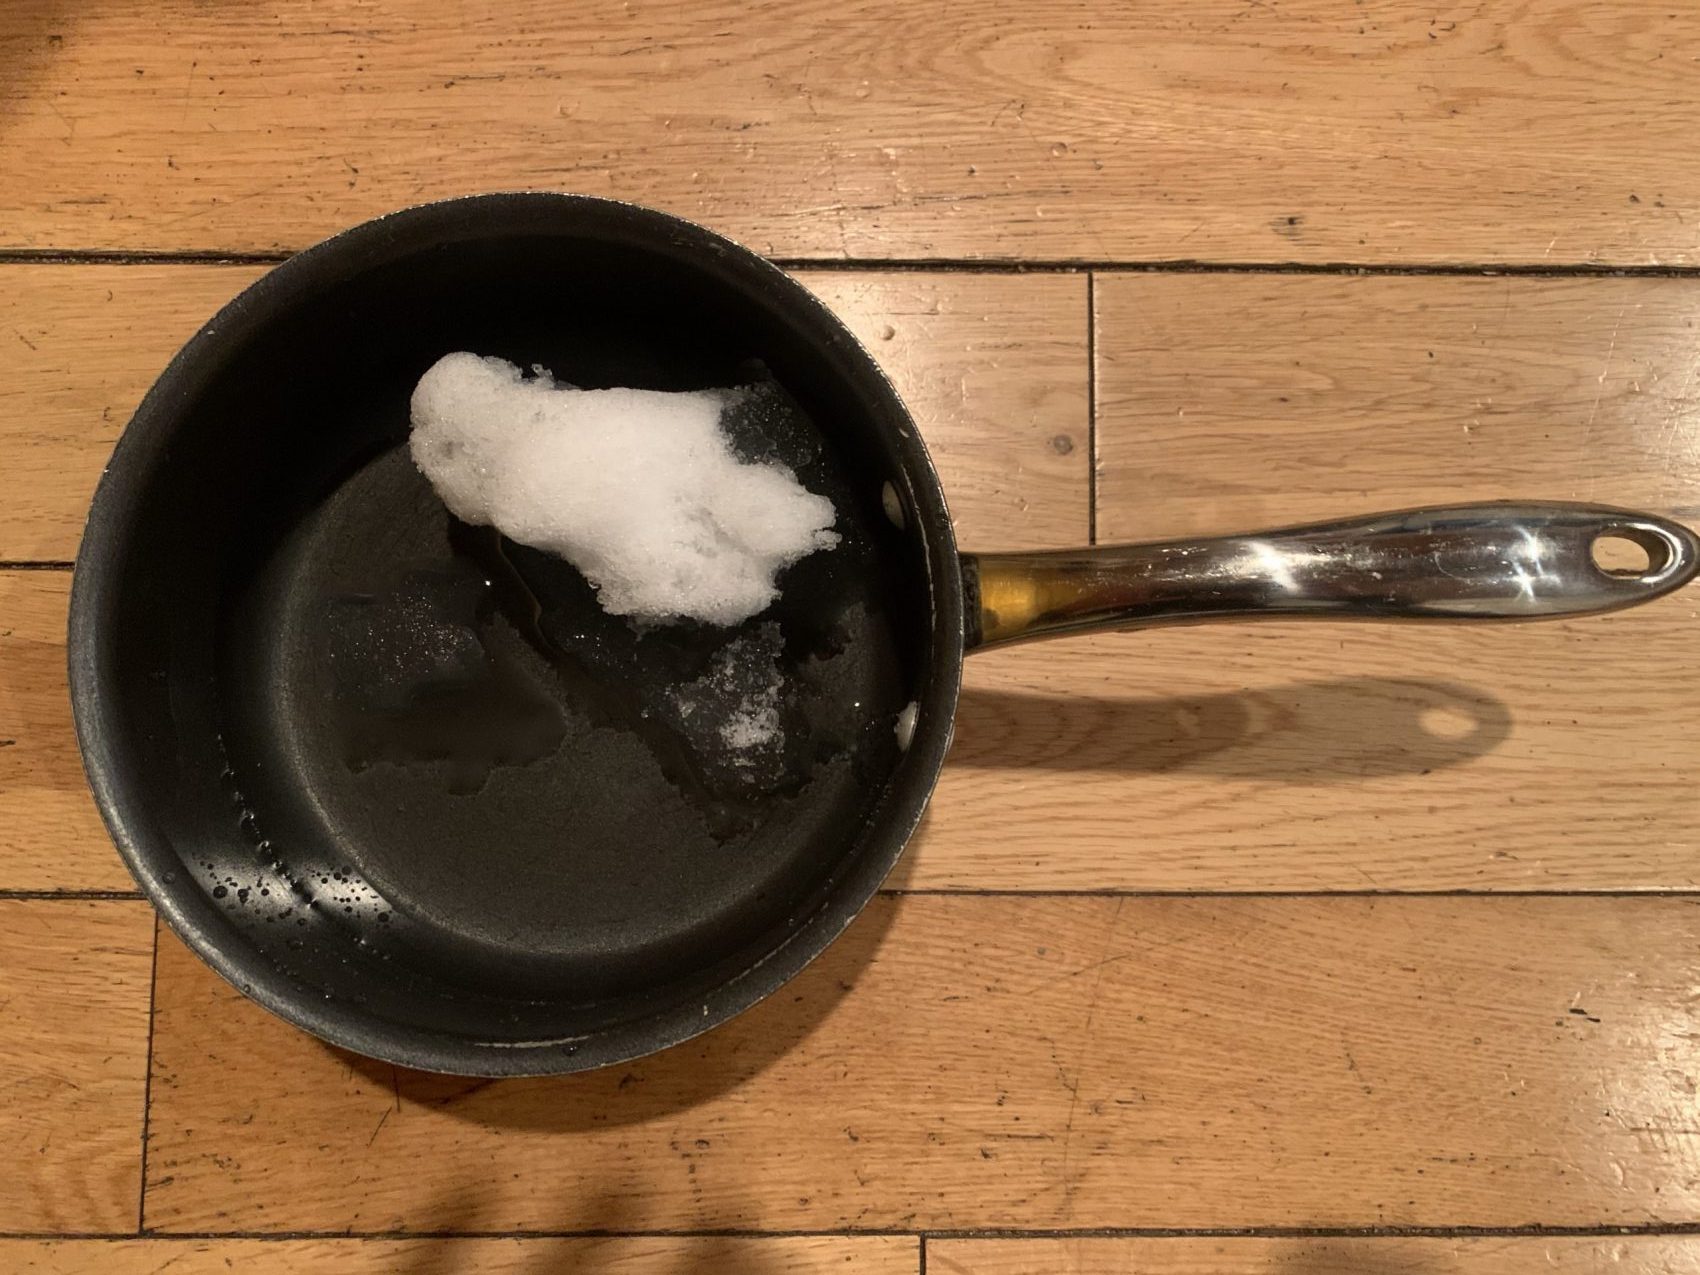
6. Keep a small amount of water at the bottom of your pot before melting snow.
Melting snow in a dry pot will cause it to have a slightly burnt taste. Although burnt water sounds crazy, the air in the snow can add a slightly burnt taste. If you end up “burning” your water, it is still safe to drink.
5. Have multiple pairs of clothes – change into dry, warm clothes before going to sleep.
This one is almost a given, but it is worth emphasizing. Evaporation is a cooling process that will take vital heat away from your body. Changing into dry clothes keeps you from evaporating, and therefore prevents cooling.
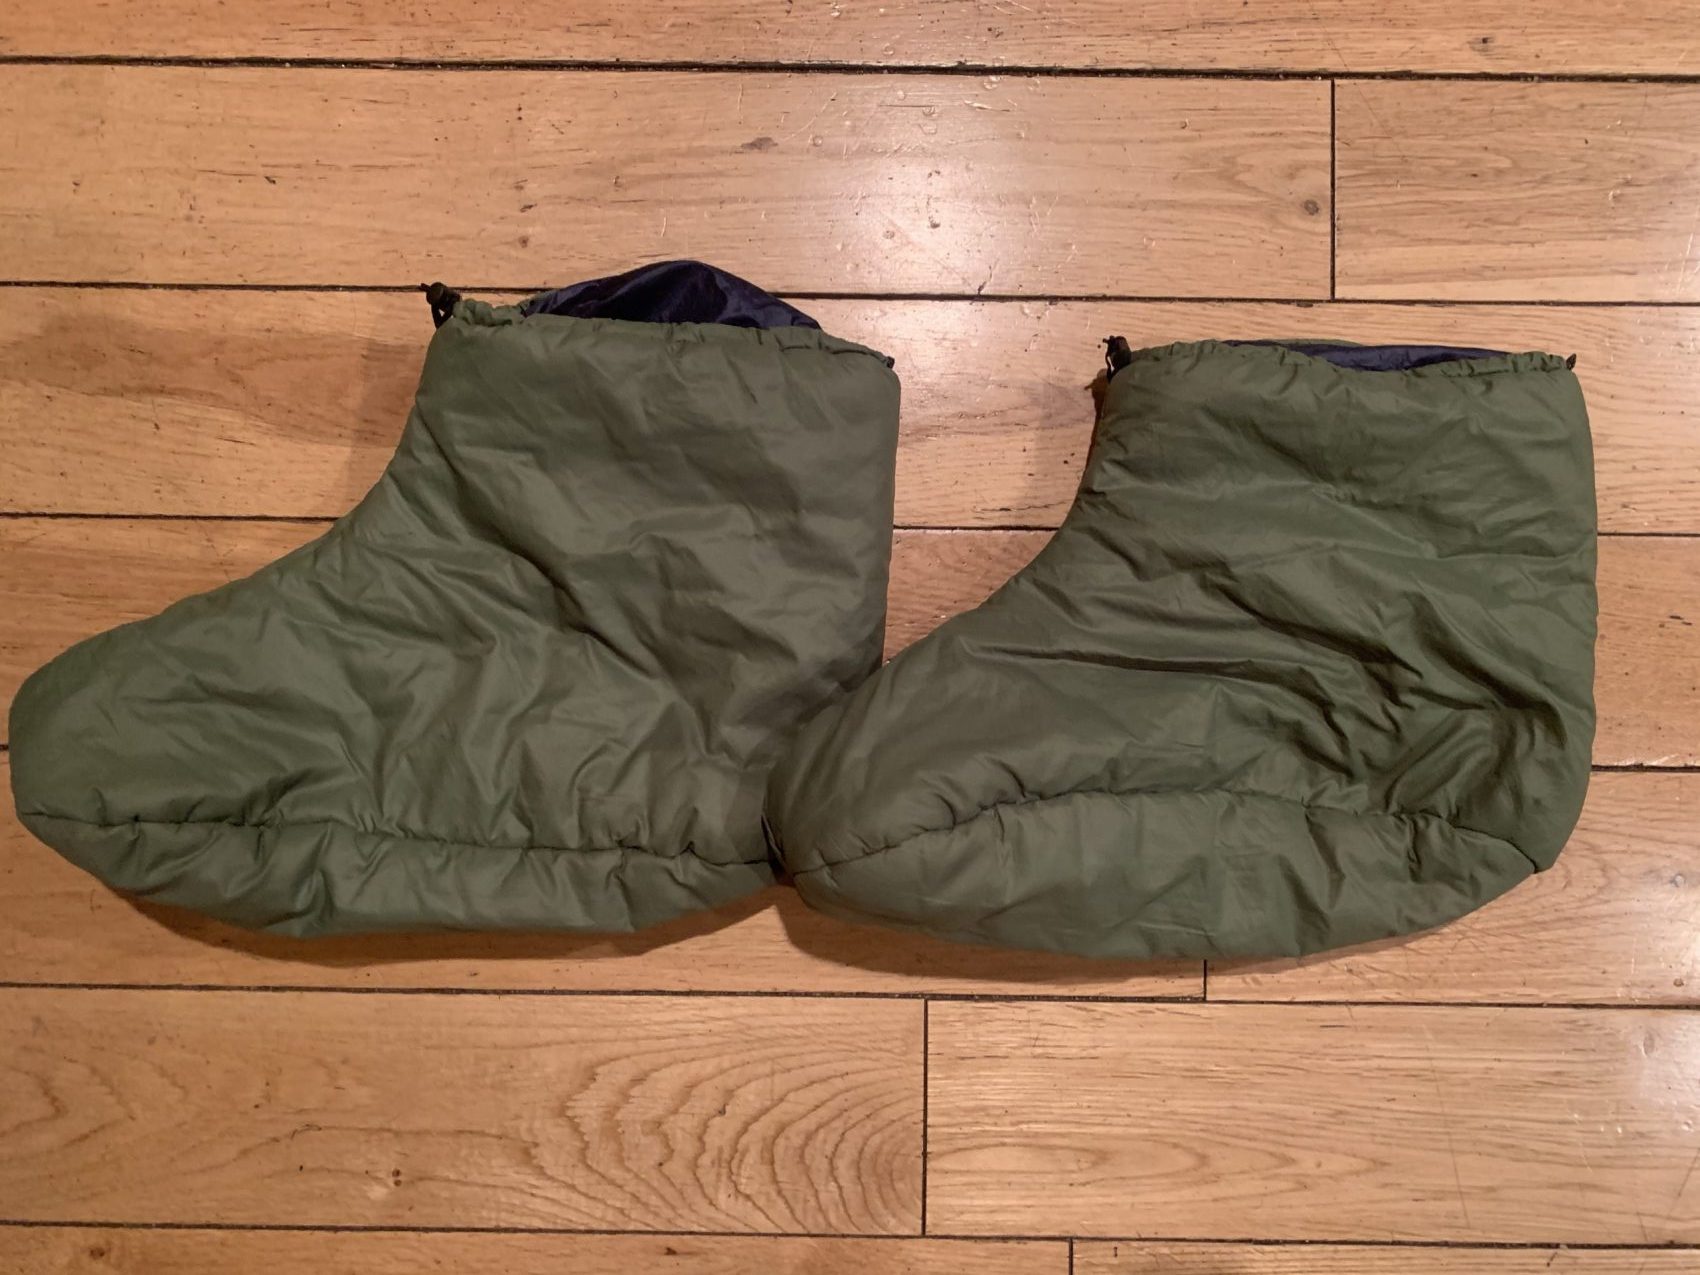
4. Sleep in Down Booties (Keep your Extremities Warm).
One of my favorite pieces of equipment is down socks. I sleep in these year-round in the backcountry and they are worth their weight in gold. If you don’t have them and don’t want to purchase them, tie the sleeves of a jacket up and put the jacket around your feet. Keep your feet, head, ears, and hands warm!
3. Drink a hot beverage before you go to sleep.
Before going to sleep, warm up your core temperature with a decaffeinated hot drink. One of my general rules of winter camping (and camping in general) is to be warm before getting into bed. If this means running around a bit, drinking a hot beverage, or doing jumping jacks, do it!
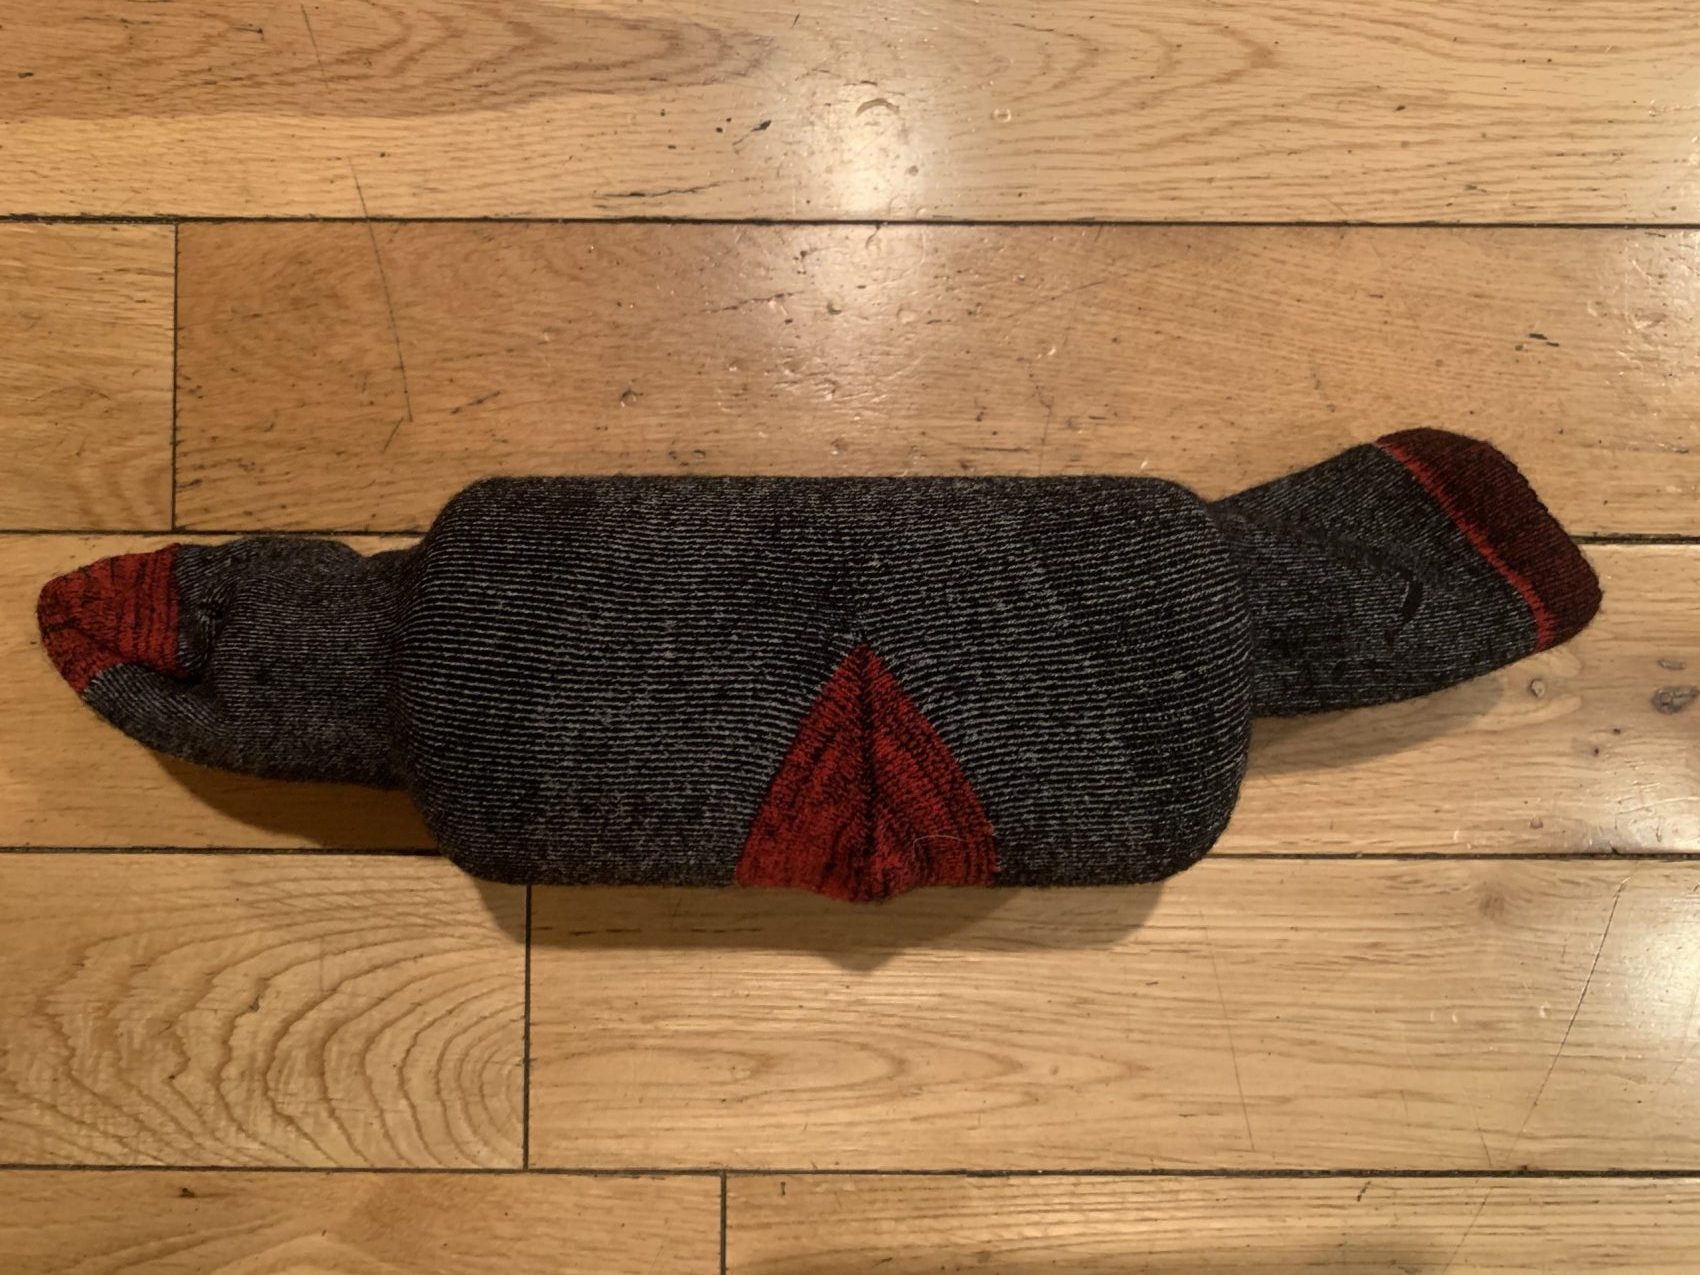
2. Hot Water Bottle Baby
A hot water bottle baby is a water bottle filled with boiling water and covered with a sock. While preparing your hot beverage, make an extra liter of hot water for a hot water bottle baby. When going to sleep, but the water bottle between your legs on your femoral artery. Keeping it on your femoral artery will allow the heat to be transferred throughout your body quickly and effectively. Also, when the bottle cools down halfway through the night, you will have water to drink! Be sure not to get it confused with your pee bottle.
1. Don’t let the snow underneath you melt. Use a proper sleep system.
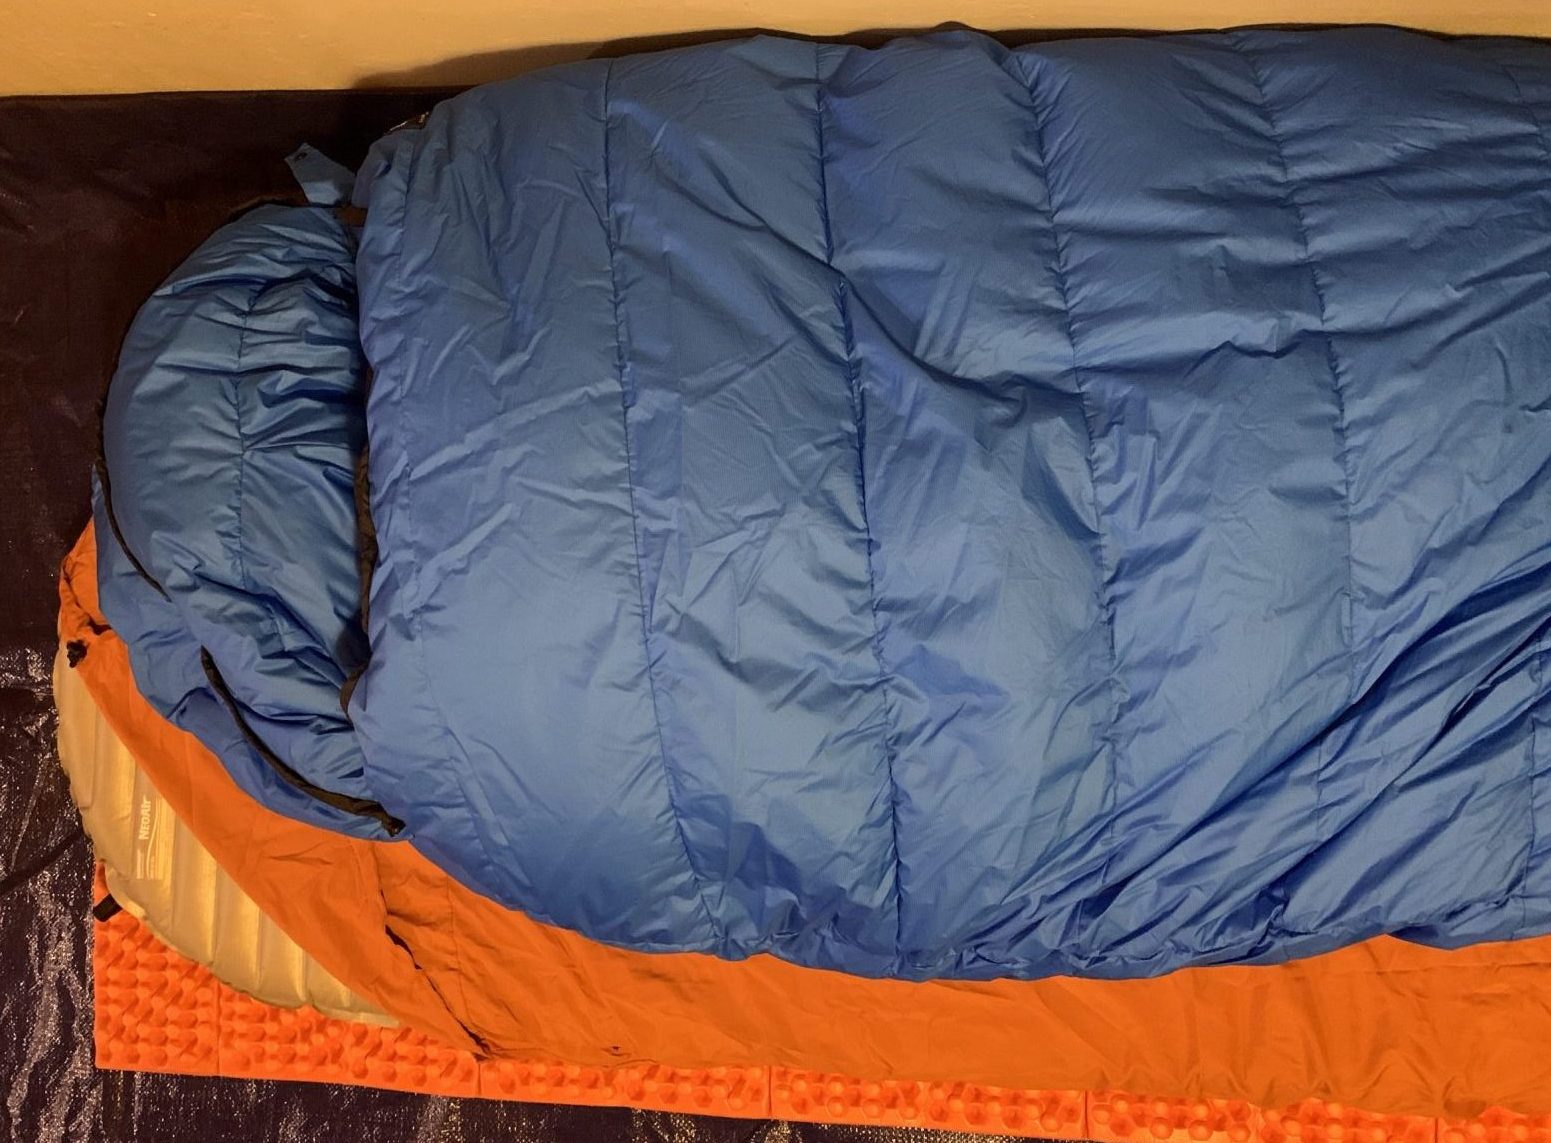
If you have been winter camping and woke up with a big hole where you slept you likely lost a lot of heat and energy to the snow. I use a multi-layered system to make sure I don’t lose unnecessary heat to the snow:
Layer 1: A waterproof barrier between the snow and your sleeping pads to prevent the transfer of moisture. This may be a simple tarp or sheet of plastic.
Layer 2: A foam sleeping pad. This will provide an extra insulating layer and something nice to stand on.
Layer 3: A blow-up sleeping pad with a high R-Value and designed for winter. R-Value is your sleeping pad’s capacity to reduce heat flow through it. You can combine the R-Value from your foam pad and blow-up pad to get your total R-Value. Aim for your combined R-Value to be 5 or greater. Use a stuff sack pump to blow up your pad in the winter to prevent moisture from your breath from freezing inside of your pad.
Layer 4: The “Wicking” Layer. The wicking layer is a sheet or towel on top of your sleeping pads that helps move moisture from where you are sleeping to the sides of where you are sleeping.
Layer 5: A sleeping bag of the appropriate rating. All of these tips and tricks will be much more helpful if your sleeping bag is designed for winter use!



If you skip step 3, you can also skip step 8.
Put your wet socks in your sleeping bag, assuming you aren’t too cold. They will be dry by morning.